No. 15
Best Bib’n Tucker
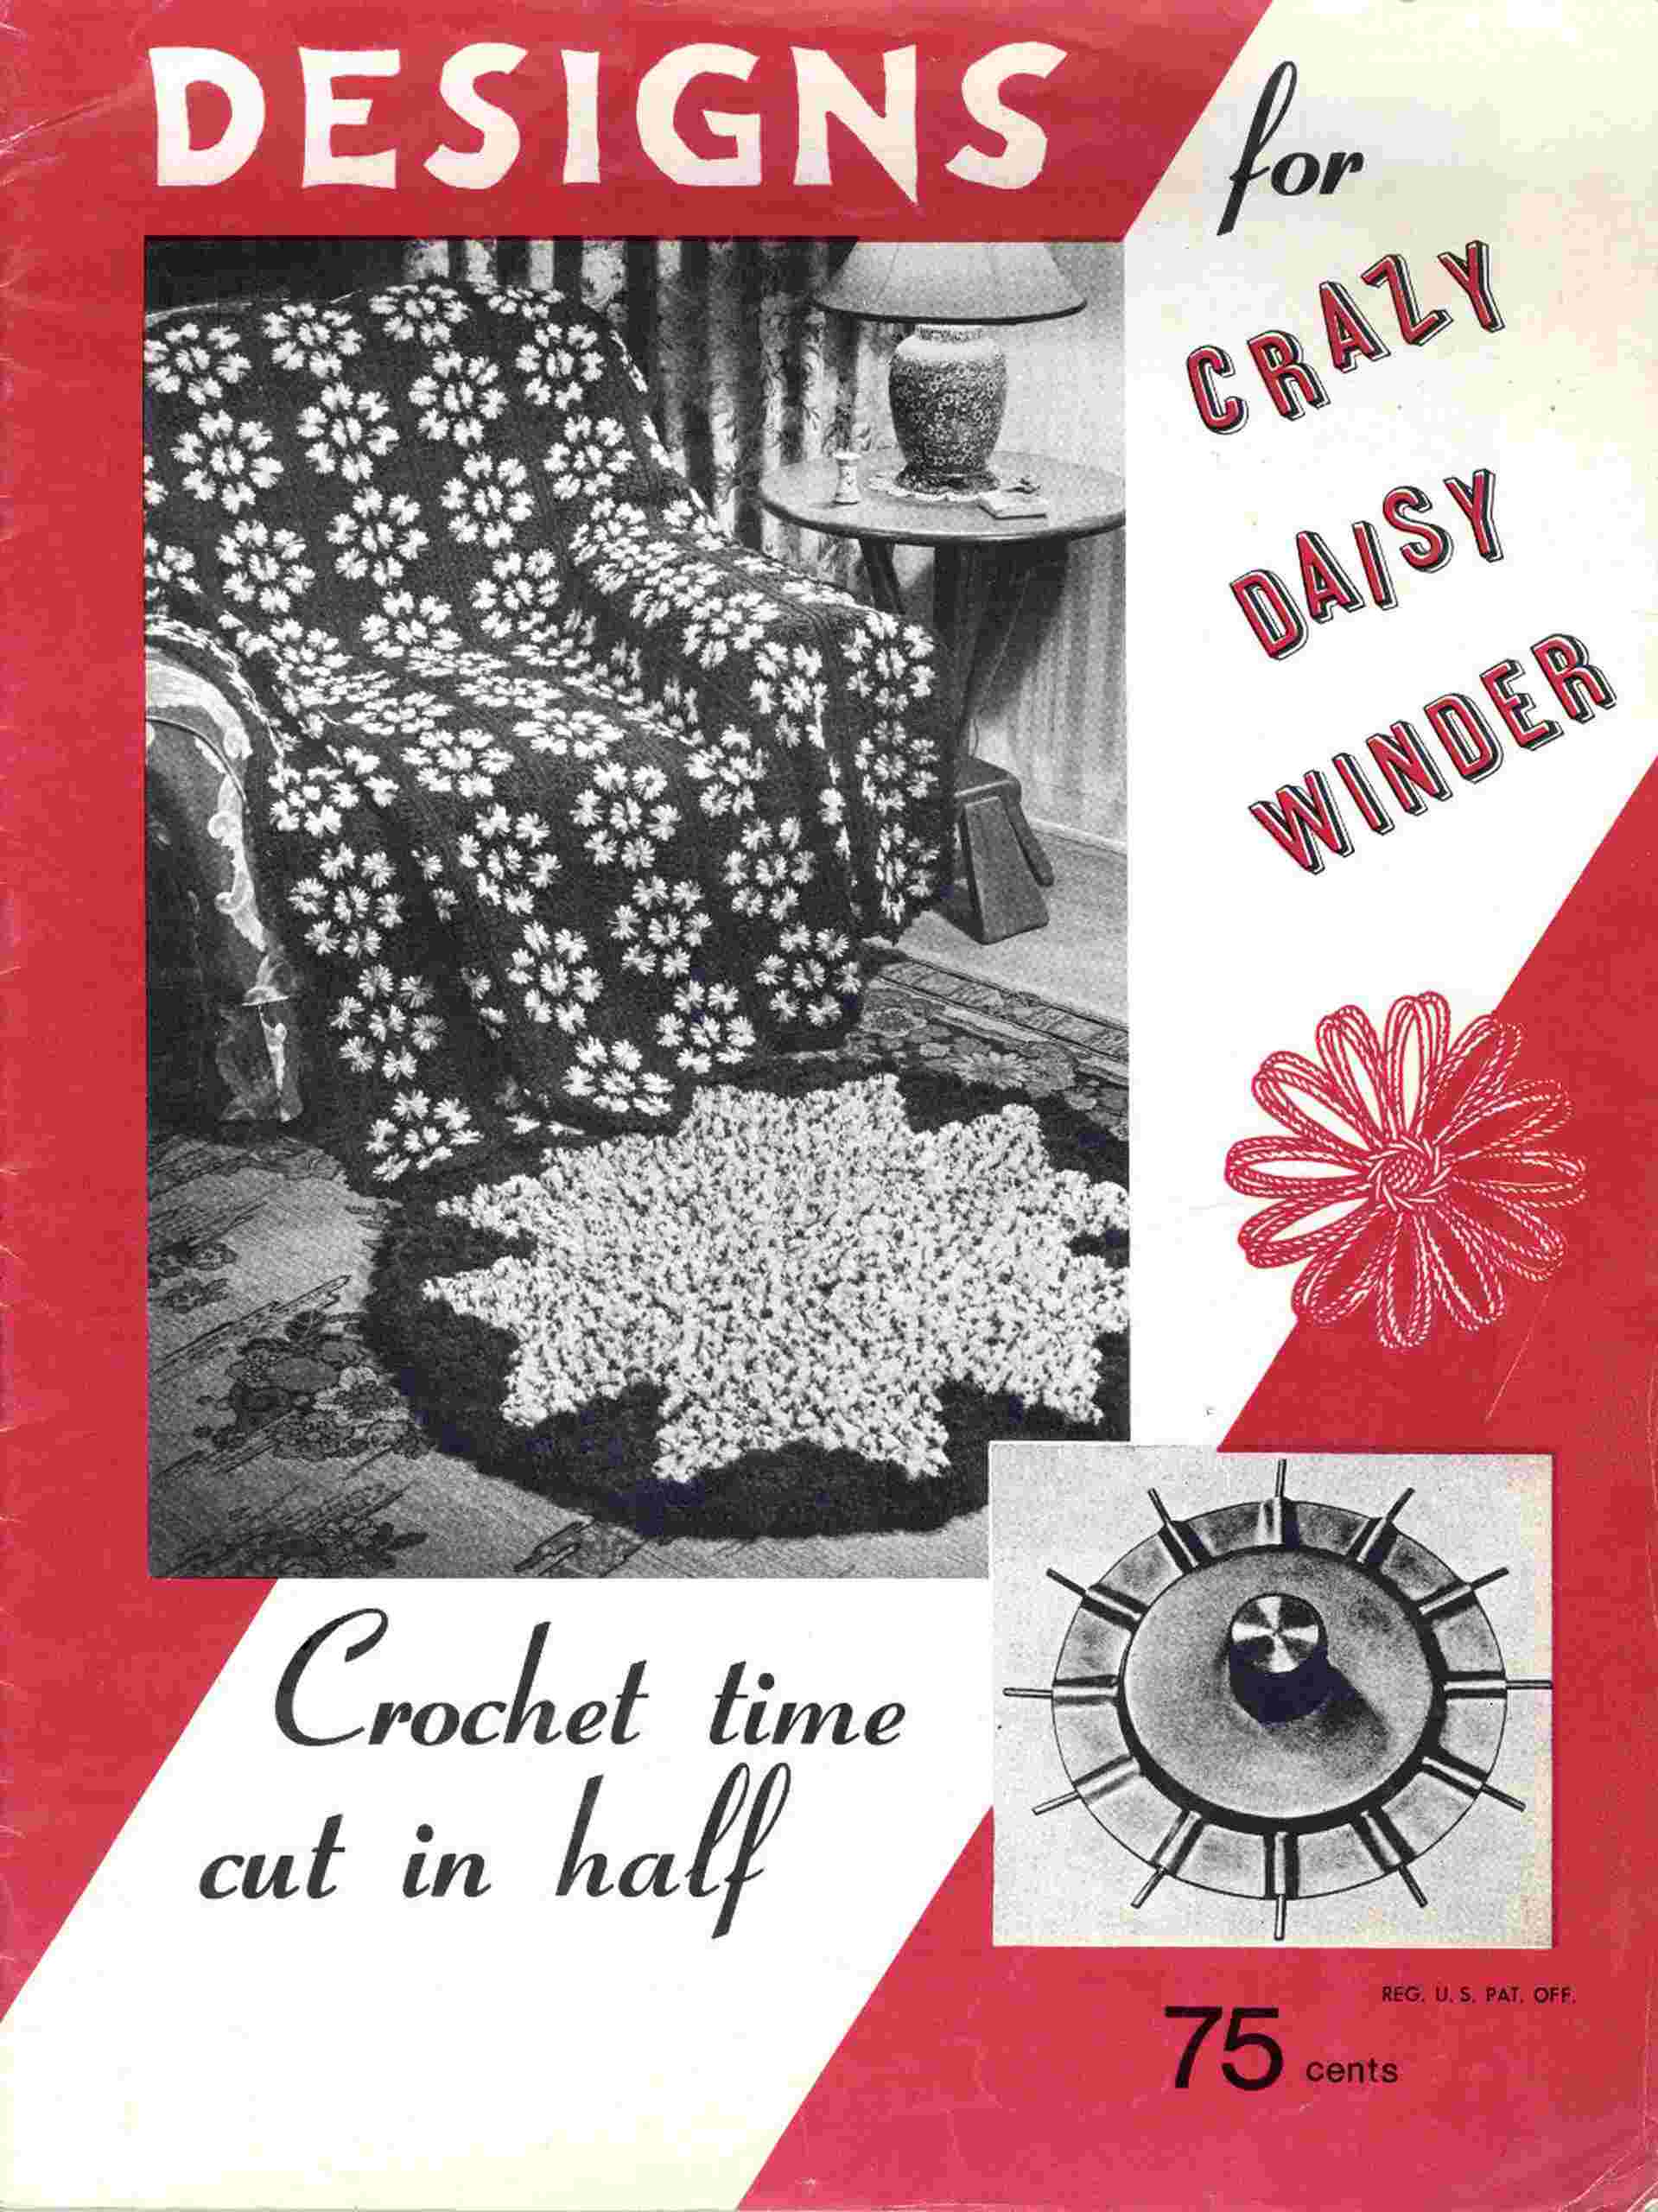
BABY SET
MATERIALS—Jack Frost Baby Yarn (1-oz. balls) in Lt. Blue or Pink:—2-balls for Cap and Cape, 3-balls for Carriage Robe; Lily Pearl Cotton size 5 (50-yd. balls):—11-balls White for Cap and Cape, 15-balls for Robe. CRAZY DAISY WINDER. Crochet hook size 5. 2½-yds. ribbon. 1—small pearl button. Size—9 months to 1½ years.
DAISY—Following instruction on page 2, Illustration C, wind Baby Yarn twice around each spoke of Winder. Cut 1″ long and weave center with White Pearl Cotton as in Illustration E, making a 12-petal flower with 2 lps in each petal. Make 216-Daisies for Carriage Robe, 17 for Cap and 122 for Cape.
BLOCK—In Pearl Cotton, make 1 sc thru both lps of one petal, * ch 5, sc in next petal, ch 3, (2 dc, ch 7, 2 dc) all in next petal, ch 3, sc in next petal. Repeat from * 3 times, ending with a sl st in 1st sc. Cut 6″ long, thread to a needle and fasten securely on back.
2d BLOCK—Repeat to 1st corner. Instead of corner 7-ch, make 3-ch, sl st thru 1 lp of the center st of a corner 7-ch on 1st Block, ch 3, 2 dc back in same petal, ch 1, sl st in next 3-ch lp on 1st Block, ch 1, sc back in next petal, ch 2, sl st in next 5-ch lp on 1st Block, ch 2, sc back in next petal, ch 1, sl st in next 3-ch lp on 1st Block, ch 1, 2 dc back in next petal, ch 3, sl st thru 1 lp of the center st of next corner 7-ch on 1st Block, ch 3, 2 dc back in same petal and complete Block as for 1st one. Continue to join Blocks in same way.
CAP—Circle—Sc in Pearl Cotton thru both lps of one petal of a Daisy, (ch 5, sc in next petal) 11 times, ch 5, sl st in 1st sc, sc in next lp. ROW 2—(Ch 4, sc in same lp, ch 4, sc in next lp) repeated around, ending with ch 2, dc in 1st sc. ROW 3—(Ch 5, sc in next lp) repeated around. Fasten off. ROW 4—Sl st in Baby Yarn in one lp, ch 3, 2 dc in same lp, (ch 1, 3 dc in next lp) repeated around. Ch 1, sl st in 1st 3-ch. Fasten off. ROW 5—Sl st in Pearl Cotton in a 1-ch sp, ch 3, 3 dc in same sp, (ch 1, 4 dc in next 1-ch sp) repeated around. Ch 1, sl st in 1st 3-ch. ROW 6—(Ch 6, sl st thru 1 lp of 4th ch st from hook for a p, ch 2, sc in next 1-ch sp) repeated around. Fasten off. Make a 2d Circle.
Center Band—Make and join 15 Blocks (3 x 5 rows) as in Chart. Edge—Working across one end, join Pearl Cotton to corner lp, ch 3, 2 dc in same lp, (ch 1, 3 dc in next lp) 13 times, ch 1, (2 dc, ch 3 and 1 sc) all in corner lp, * (ch 1, sc in next lp) repeated to next corner, ch 1, sc in same corner lp. Repeat from * twice. Repeat Row 6 of Circle across end (Front). Fasten off. Across other end, sc in corner 1-ch sp, (ch 3, sc in next 1-ch sp) repeated across. Fasten off. Sew one side of Band under edge of half of one Circle. Sew other side to other Circle. Block to desired size.
Tie—Cut a 27” piece of ribbon, make a 4-lp bow on one end and tack to bottom edge of one Circle. Repeat on other side.
CAPE—Make and join 10 Blocks into a straight row for Yoke (see Chart). Join Pearl Cotton to A-Corner lp, ch 7, tr in next 3-ch sp, (ch 2, tr in next sp) repeated around top of Yoke to next corner. Fasten off. Join to B-Corner on Chart, ch 3, 3 dc in same corner lp, (ch 1, 4 dc in next lp) repeated around bottom of Yoke to next corner. Fasten off.
Make and join 110 Blocks for Skirt (see Chart), leaving center front open. Make 2 -Blocks, joining to each other and to -Blocks on Front and Back, leaving 5 Blocks on bottom of Sleeve section free. Repeat on other side of Cape.
Top Edge—Join Pearl Cotton to top corner of Right Front, ch 2, sc in same corner lp, * ch 2, sc in next 2d (center) sp, ch 2, sc in corner lp of same Block, ch 2, sc in corner lp of next Block. Repeat from * across top edge to next corner, making ch 2, (sc, ch 2, sc) in corner lp. Fasten off. Sew this edge under bottom edge of Yoke.
Edge—Sc in Pearl Cotton in A-Corner of Yoke, ch 4, sc in same corner lp, (ch 4, sc in next 2-ch sp) repeated around neck. Ch 3, 2 dc in same corner lp, (ch 1, 3 dc in next sp) repeated down front, around bottom and up other front, putting (ch 1, 3 dc) twice in each bottom corner. Ch 3, sl st in 1st sc. Fasten off. Join to neck corner of Left Front and repeat Row 6 of Edge on Cap Circle on both Fronts and around bottom, putting an extra p-lp at each bottom corner. Repeat these last 2 rows around edge of each Sleeve and across top of Joining Pieces under arms.
Block Cape to desired size. Run 1-yd. of ribbon thru beading around neck. Fasten bottom corners of Yoke with a pearl button.
CARRIAGE ROBE—Make and join 216 Blocks (12 x 18 rows). Edge—Join Pearl Cotton in one corner, ch 4, sc in same corner lp, (ch 4, sc in next lp) repeated around, putting 3 lps in each corner. ROW 2—Sl st in 1st lp, (ch 4, sc in next lp) repeated around, with an extra lp at each corner. Fasten off. ROW 3—Join Baby Yarn in one corner, ch 3, (2 dc, ch 2, 3 dc) in same lp, (ch 2, 3 dc in next lp) repeated around with (ch 2, 3 dc) twice in each corner. Join and fasten off. ROW 4—Repeat last row in Pearl Cotton except make 1-chs instead of 2-chs. ROW 5—Repeat Row 6 of Edge on Cap Circle, making an extra p-lp in each corner. Fasten off.
Stretch and pin Robe right-side-down on a large, padded table or board. Steam and press dry thru a cloth.