No. 7
Daisy Doilies
“FOR THAT DECORATIVE TOUCH”
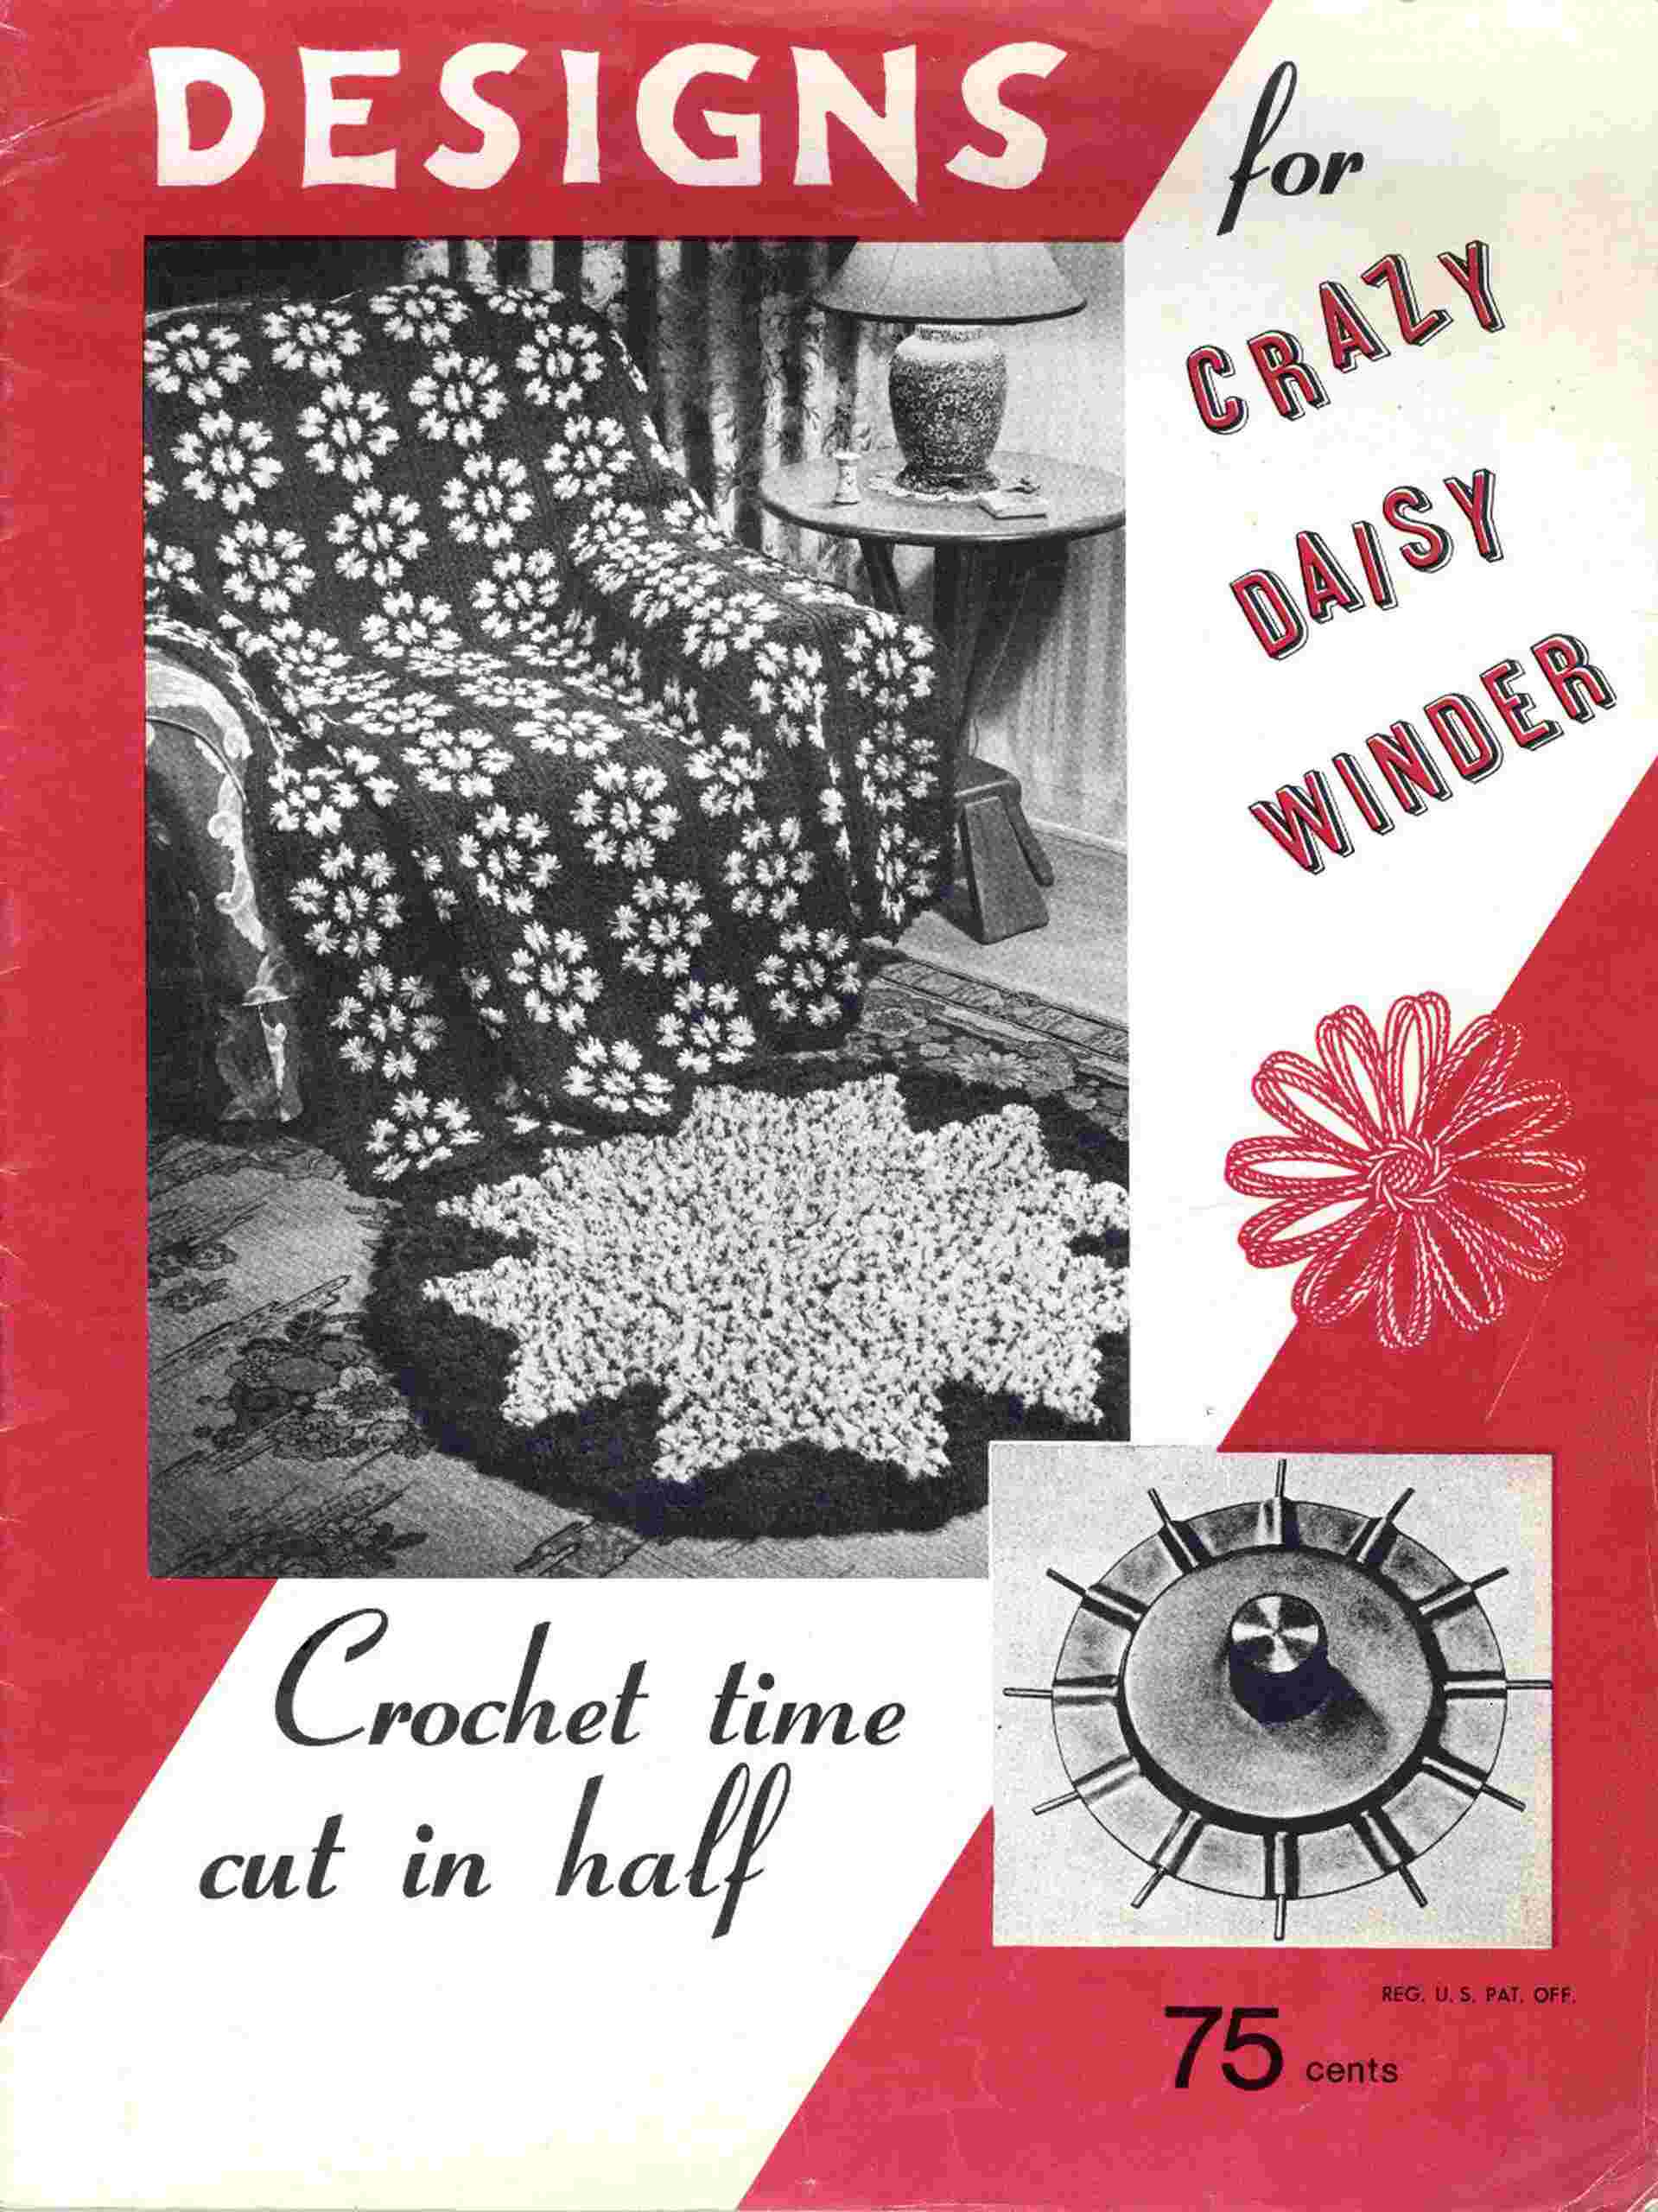
MATERIALS—Lily Sil-Tone Mercerized Crochet Cotton (100-yd. balls):—1 ball White for each Doily. Crochet hook size 13. CRAZY DAISY WINDER.
A—“DAISY RING”—(Size—8”)—Center—Following instructions on page 2, Illustration C, wind thread 4 times around each spoke of Winder. Cut 14” long and weave center as in Ill. E, making a 12-petal flower with 4 lps in each petal. Edge—Sc in back lp of one petal, * (ch 2, sc in next lp towards the front of same petal) 3 times, ch 2, sc in back lp of next petal. Repeat from * around. Join with ch 2, sl st in 1st sc. Ch 1, sc in next 2-ch sp, (ch 3, sc in next sp) repeated around. Cut 6” long, thread to a needle and fasten off on back.
DAISY—Wind thread 3 times around each spoke of WINDER and weave center as before. Edge—Sc thru all 3 lps of one petal, ch 3, 3 dc in same petal, ** ch 5, sl st in last dc for a p, 4 dc in same petal, ch 6, sl st in 1 lp of starting st of 6-ch for a p, 4 dc in next petal, ** a 5-ch p, 4 dc in same petal, ch 7, sl st in a lp on Center, ch 6, sl st back in starting st of 7-ch, * 4 dc in next petal, ch 2, sl st in next 2d lp on Center, ch 2, sl st back in last dc, 4 dc in same petal, *** ch 3, sl st in next 2d lp on Center, ch 2, sl st back in starting st of 3-ch. Repeat from * to ***. Ch 7, sl st in next 2d lp on Center, ch 6, sl st back in starting st of 7-ch, 4 dc in next petal. Repeat from ** to ** around. End with a p, sl st in 1st 3-ch. Fasten off. 2d DAISY—Repeat 1st Daisy to 2d **. Ch 2, sl st in 3d p on last Daisy above final joining to Center, ch 2, sl st back in last dc, 4 dc in same petal, ch 3, sl st in next p on last Daisy, ch 2, sl st back in starting st of 3-ch, 4 dc in next petal, ch 2, sl st in next p on 1st Daisy, ch 2, sl st back in last dc, 4 dc in same petal, ch 7, sl st in same lp on Center where last Daisy was joined, ch 6, sl st back in starting st of 7-ch. Repeat from * to complete Daisy.
Make and join 4 more Daisies around center, joining 1st and 6th Daisies.
Stretch and pin Doily right-side-down in true shape. Steam and press dry thru a cloth.
B—“DAISY TRIO”—(Size—7” x 7¼”)—Following instructions on page 2, Illustration C, wind thread 3 times around each spoke of Winder. Cut 14” long and weave center as in Ill. E, making a 12-petal flower with 3 lps in each petal. Edge—Sc thru all 3 lps of one petal, * ch 6, sc in one lp of next petal, (ch 3, sc in next lp of same petal) twice, ch 6, sc in all 3 lps of next petal. Repeat from * around. Join with ch 6, sl st in 1st sc. ROW 2—* 7 sc in next lp, (3 sc in next lp) twice, ch 8, turn, sl st back in 6th sc, ch 1, turn, 10 sc in 8-ch lp, 4 sc in half of next lp, turn, (ch 3, dc in next 2d sc on added lp) 5 times, ch 3, sl st in next 4th sc. Ch 1, turn, (2 sc, ch 4, sl st in last sc for a p and 2 sc) all in each of next 6 sps, 3 sc in bal. of next sp. Repeat from * around and join. Cut 6” long, thread to a needle and fasten off on back. Make 2 more Daisies. Tack tog. by the 4th and 5th ps on one shell and by the 2d and 3d ps on next shell, to corresponding ps on other 2 Daisies.
Corner Shell—With wrong-side-up, join to 1st p to right of joining of 2 Daisies, ch 8, sc across in same p on other Daisy, ch 1, turn, 11 sc on 8-ch lp. Ch 5, dc in next p, ch 3, turn, tr in next 3d sc, (ch 3, tr in next 2d sc) 4 times, ch 3, sc in next p. Ch 1, turn, (2 sc, a 4-ch p and 2 sc all in next sp, 1 sc in next st) 7 times. Fasten off. Join to 2d p on next shell, turn, (ch 7, dtr between next 2 ps on added shell) 6 times, ch 7, sc in 2d p on next shell. Ch 1, turn, (4 sc, a p, 4 sc) in each 7-ch sp and 1 sc in each dtr. Fasten off. Repeat on other 2 sides.
Stretch and pin Doily right-side-down in true shape. Steam and press dry thru a cloth.
C—“LACY DAISY SQUARE”—(Size—9”)—Daisy—Following instructions on page 2, Illustration C, wind thread 4 times around each spoke of Winder. Cut 14” long and weave center as in Ill. E, making a 12-petal flower with 4 lps in each petal. Edge—Sc thru all 4 lps of one petal, (ch 9, dc in 8th ch st from hook, ch 8, dc in 8th ch st from hook, ch 1, sc thru all 4 lps of next petal) 12 times. Sl st to center of 1st lp. ROW 2—Ch 5, 2 tr in same lp, holding back the last lp of each tr on hook, thread over and pull thru all 3 lps at once (a Cluster), (ch 9, a 3-tr-Cluster in next lp, ch 5, a 3-tr-Cluster in next lp) repeated around. Join with 2-ch, dc in 1st Cluster. ROW 3—Turn, * ch 4, tr in 3d st of next 9-ch, (ch 2, tr in next ch st) 4 times, ch 4, sc in next 5-ch lp. Repeat from * around. ROW 4—Ch 1, turn, 2 sc in last 4-ch, * (ch 4, 2 sc in next sp) 5 times, ch 2, 2 sc in next 4-ch. Repeat from * around and join. Cut 6” long, thread to a needle and fasten off on back.
2d Daisy—Repeat to * in Row 4. Ch 4, 2 sc in next sp, ch 2, sl st in corresponding lp on 1st Daisy, ch 2, 2 sc back in next sp, ch 1, sl st in next lp on 1st Daisy, ch 1, 2 sc back in next sp, ch 2, sl st in next lp on 1st Daisy, ch 2, 2 sc back in next sp and complete shell. Join next shell in same way to next shell on 1st Daisy and complete Daisy.
Make and join 2 more Daisies in same way into a square, leaving 1 shell free in center between joinings.
Fill-in Motif—Ch 14, sl st in 1st st. Ch 3, 2 dc in ring, (ch 7, 3 dc in ring) 7 times, ch 3, dc in 1st 3-ch. Ch 13, sl st in joining of 2 Daisies, ch 13, sc back in last dc, * ch 7, sl st in 2d 4-ch lp on next free shell, ch 6, sc back in next 7-ch lp, ch 6, sl st in next 2d lp on shell, ch 7, sc back in next 7-ch lp, ch 13, sl st in joining of Daisies, ch 13, sc back in same 7-ch lp. Repeat from * around. Fasten off.
Fill-in Shells—Counting from joining of 2 Daisies, join to 3d 4-ch lp to right, ch 7, tr tr down in next 2d 4-ch lp, tr tr in 1st 4-ch lp on next Daisy, ch 7, sc in next 2d 4-ch lp. Ch 4, turn, tr between tr tr, (ch 2, tr in same place) 5 times, ch 4, sc in same lp where work started. Ch 1, turn, (3 sc, ch 4, sl st in last sc for a p, 3 sc) in 1st and last 4-ch sps, (2 sc, a p, 2 sc) in each 2-ch sp. Fasten off. Repeat on other 3 sides.
Stretch and pin right-side-down in true shape. Steam and press dry thru a cloth.