The Project Gutenberg eBook of Home-made Toy Motors
This ebook is for the use of anyone anywhere in the United States and
most other parts of the world at no cost and with almost no restrictions
whatsoever. You may copy it, give it away or re-use it under the terms
of the Project Gutenberg License included with this ebook or online
at www.gutenberg.org. If you are not located in the United States,
you will have to check the laws of the country where you are located
before using this eBook.
Title: Home-made Toy Motors
Creator: Alfred Powell Morgan
Release date: December 14, 2020 [eBook #64046]
Language: English
Credits: Produced by James Simmons
*** START OF THE PROJECT GUTENBERG EBOOK HOME-MADE TOY MOTORS ***
Transcriber's Note
This book was transcribed from scans of the original found at the Internet Archive.
[image]
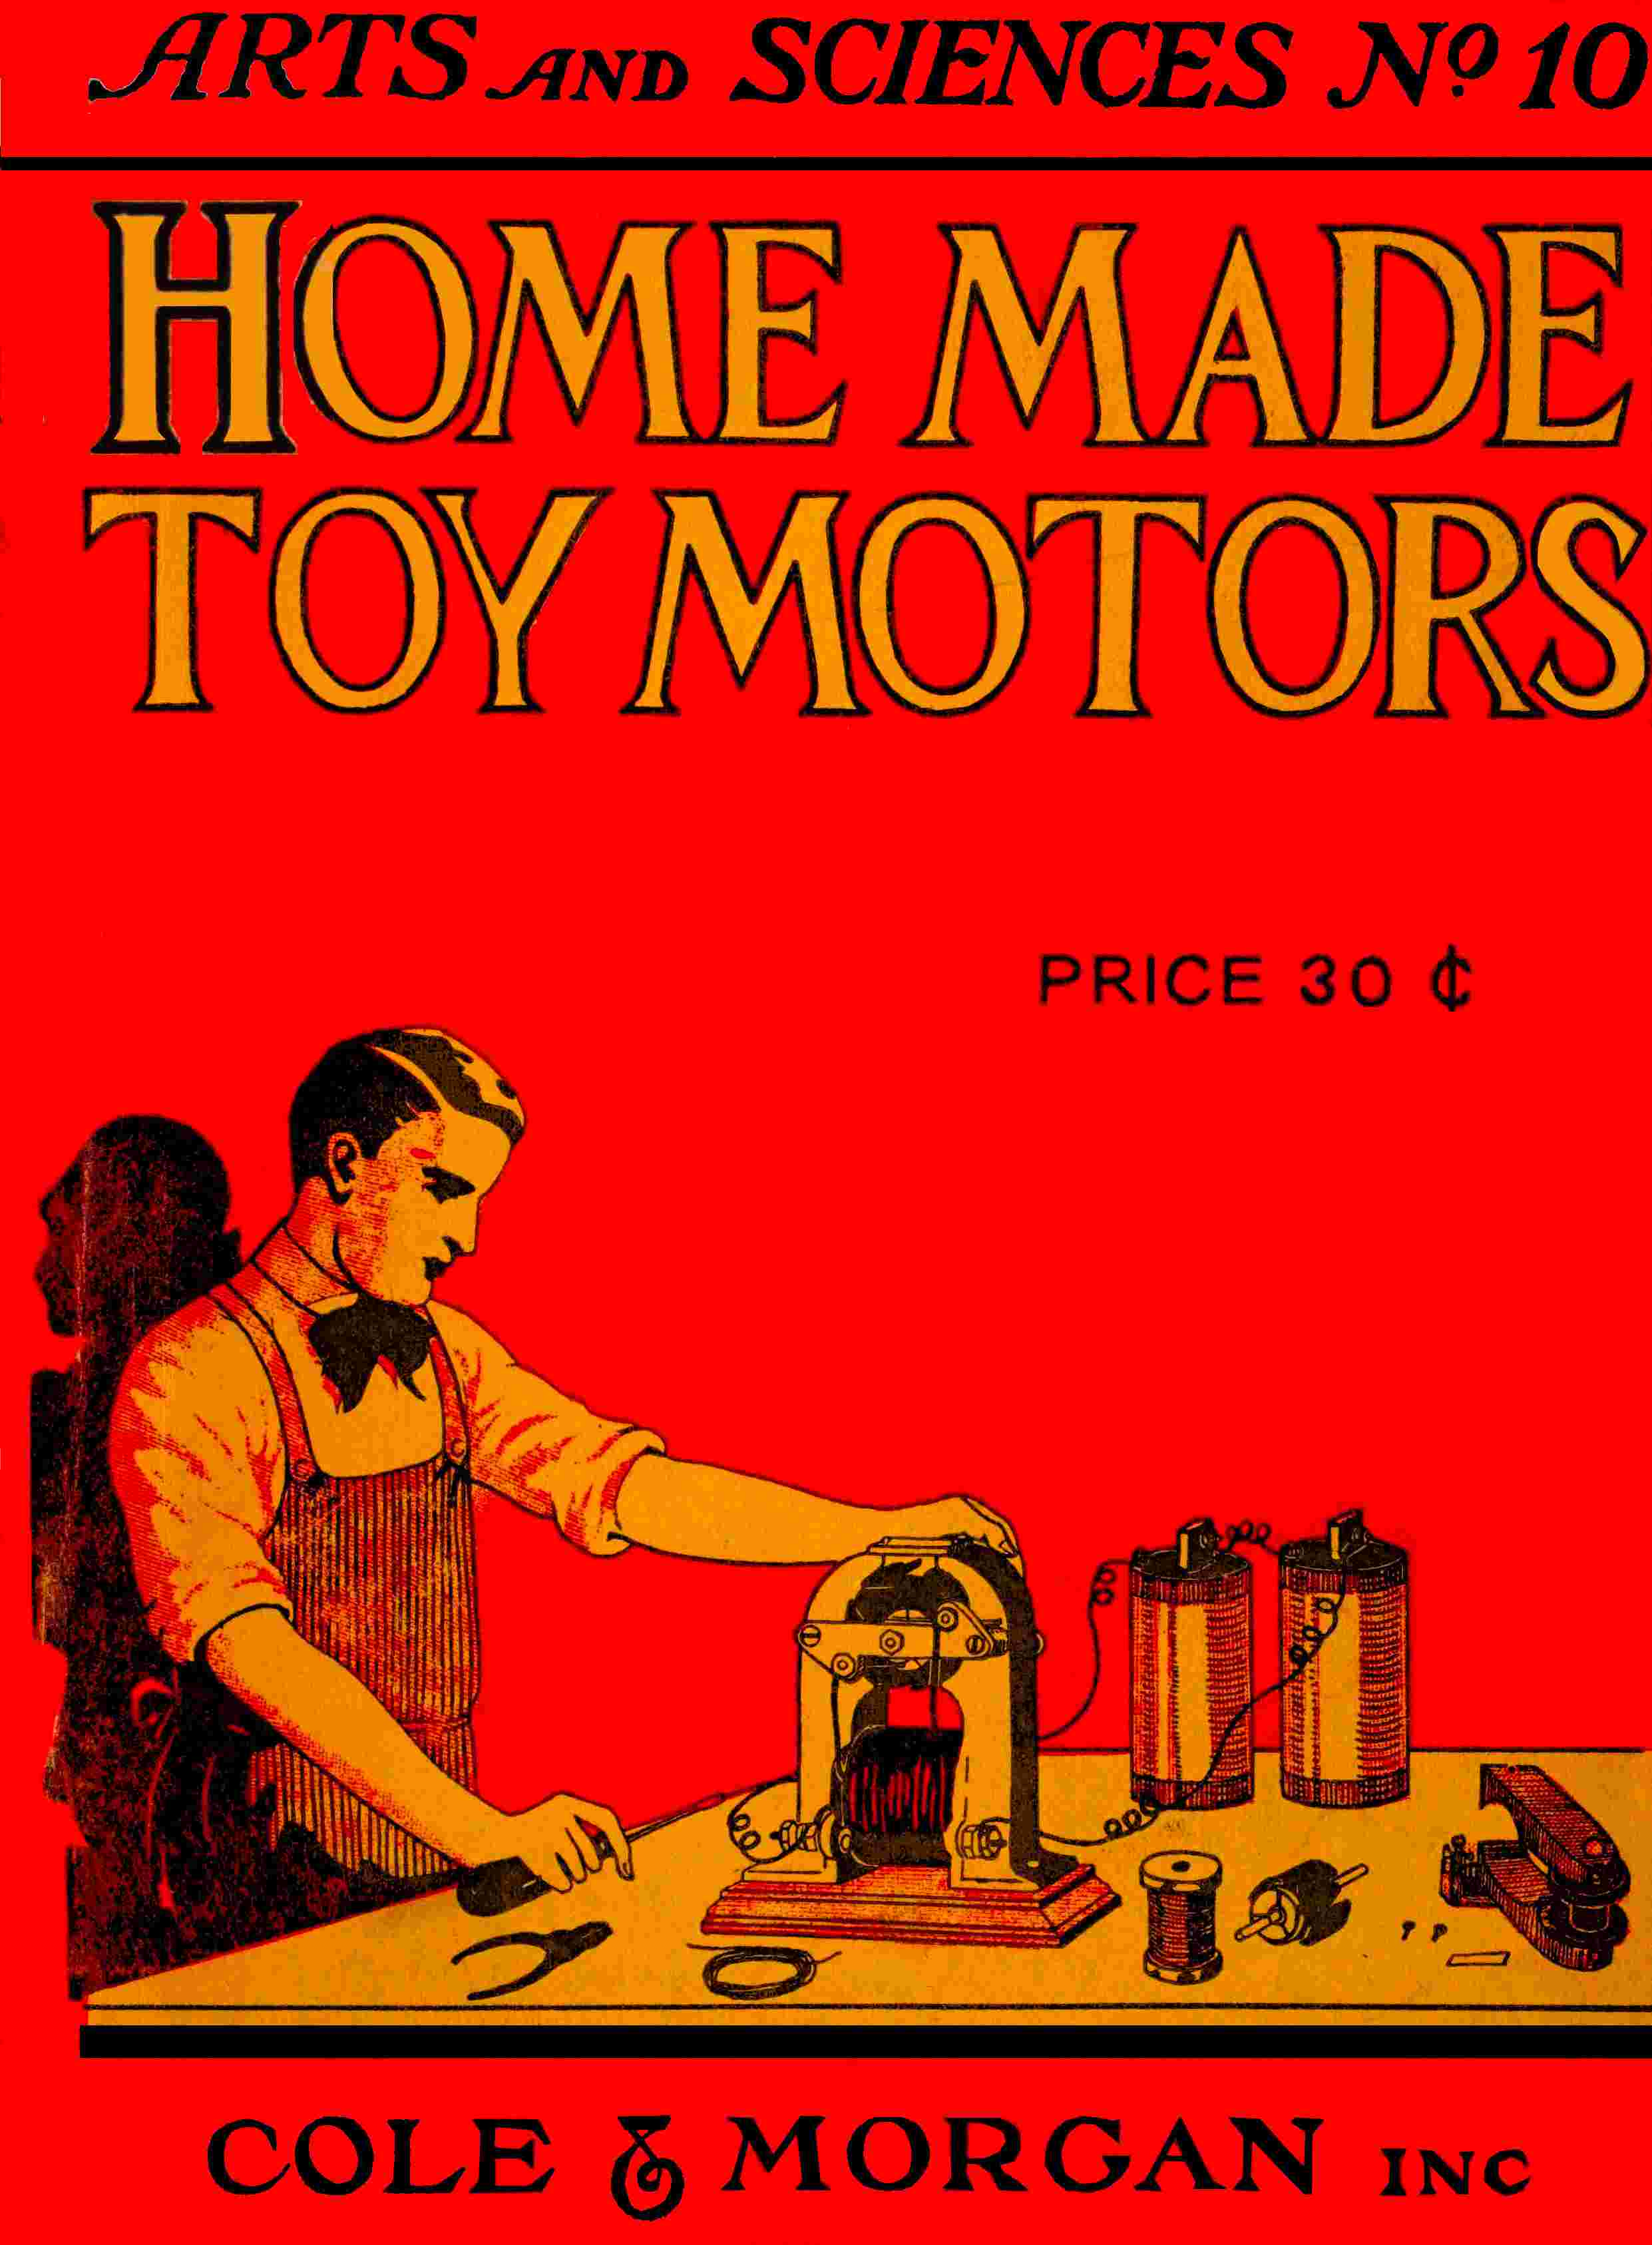
ARTS AND SCIENCES No. 9
Home-made
Toy Motors
A Practical Handbook Giving Detailed Instructions for Building
Simple but Operative
Electric Motors
BY
A. P. Morgan
COLE & MORGAN, Inc.
Publishers of the Arts and Sciences Series
P. O. BOX 473 CITY HALL STATION
NEW YORK, N. Y.
COPYRIGHT 1919
BY
COLE & MORGAN, Inc.
- FIG. 1.—If a current of electricity is passed through a wire, the wire will attract to itself iron filings.
- FIG. 2.—If a wire carrying a current of electricity is formed into a loop, the space enclosed by the loop will become magnetic. The arrows represent the paths of the lines of magnetic force.
- FIG. 3.—By forming the wire into several loops or a spiral so that the effect of the individual turns is concentrated in a small space, an Electromagnet is made.
- FIG 4—The strength of an electromagnet is proportional to the ampere turns. The magnet illustrated above does not possess sufficient turns to be very strong.
- FIG. 5.—An increase in the number of turns of wire has resulted in considerable increase in the magnetism and this magnet is able to lift a much greater weight than that shown in Figure 4.
- FIG. 6.—The Principle of the Electric Motor.
- FIG. 7.—Diagrams showing the difference between a Shunt and a Series Motor.
- FIG. 8.—Details of the Armature for the Simplex Two-pole Motor.
- FIG. 9.—Showing the Armature assembled on the shaft ready for winding.
- FIG. 10.—A front view of the Field Frame.
- FIG. 11.—The completed Field Frame, ready for winding.
- FIG. 12.—The Bearings.
- FIG. 13.—Side view of the Armature and Commutator Core assembled on the Shaft before winding.
- FIG. 14.—Showing the Motor assembled on the Base so that all the parts may be lined up before winding.
- FIG. 15.—The Field Frame with the Winding in position.
- FIG. 16.—The Armature Winding before the Commutator is completed.
- FIG. 17.—The completed Armature showing how the Commutator is constructed.
- FIG. 18.—Details of the Commutator.
- FIG. 19.—The completed Motor.
- FIG. 20.—Details of the Three-pole Armature.
- FIG. 21.—The Three-pole Armature assembled on the shaft.
- FIG. 22.—Showing the Armature and Shaft with the Commutator Core in position.
- FIG. 23.—Diagram showing how the coils are connected together so as to form a continuous winding.
- FIG. 24.—The completed Three-pole Motor.
- FIG. 25.—The Simplex "Overtype" Motor.
- FIG. 26.—Details of the Field Frame for the "Overtype" Motor.
- FIG. 27.—Showing how the Field is Wound.
- FIG. 28.—The Bearings.
- FIG. 28.—The Manchester Motor.
- FIG. 30.—Details of the Field Frame.
- FIG. 31.—Details of the Field Pedestal.
- FIG. 32.—Showing how the Field Coils are Wound.
- FIG. 33.—Details of the Magnet Bobbins.
- FIG. 34.—The completed Electromagnets mounted on the Yoke.
- FIG. 35.—Details of the Armature Shaft.
- FIG. 36.—Details of the Standard which forms the upper bearings.
- FIG. 37.—The Brass Contact.
- FIG. 38.—The Brush which bears against the Contact.
- FIG. 39.—The completed Magnetic Attraction Motor.
- FIG. 40.—The completed Electric Motor.
- FIG. 41.—Details of the Field Frame.
- FIG. 42.—The Assembled Field ready for Winding.
- FIG. 43.—Details of the Armature Laminations.
- FIG. 44.—The Armature assembled on the Shaft ready to Wind.
- FIG. 45—The Commutator and Method of connecting the Armature Coils.
- FIG. 46.—The Bearings.
- FIG. 47.—Brush and Supporting Block.
- FIG. 48.—A well known Three-pole Battery Motor.
- FIG. 49.—Showing how a Three-pole Motor may be provided with "Starting Coils" and connected to form an Experimental Induction Motor.
- FIG. 50.—The completed Engine.
- FIG. 51.—The Base.
- FIG. 52.—Details showing the size of the Magnet Bobbin.
- FIG. 53.—The Frame which supports the Electromagnets.
- FIG. 54.—The Main Bearings.
- FIG. 55.—The Shaft.
- FIG. 56.—Showing the Armature, Armature Bearing and the Connection Rod.
- FIG. 57.—Details of the Brushes and Brush Holder.
- FIG. 58.—Showing how a Flywheel may be made out of sheet iron.
- FIG. 59.—A Vertical Battery Power Motor.
- FIG. 60.—Details of the Field Frame of the Vertical Motor.
- FIG. 61.—Three-pole Armature.
- FIG. 62.—Six-pole Armature.
- FIG. 63.—Showing how the Coils on a Three-pole Armature are connected to the Commutator.
- FIG. 64.—Showing how the Coils on a Six-pole Armature are arranged and connected.
- FIG. 65.—Details of the Commutator.
- FIG. 66.—Details of the Bearings, Shaft, and Pulley.
- FIG. 67.—The Brushes and Brush Holder.
- FIG. 68.—Details of the Field Frame for the Horizontal Power Motor.
- FIG. 69.—Front view of the Field Frame.
- FIG. 70.—The Field Magnet Bobbin.
- FIG. 71.—Details of the Shaft, Rocker Arm, Bearing and Pulley.
- FIG. 72.—Rear view of the completed Horizontal Motor.
- FIG. 73.—Side view of the Horizontal Motor.