| PAGE | |
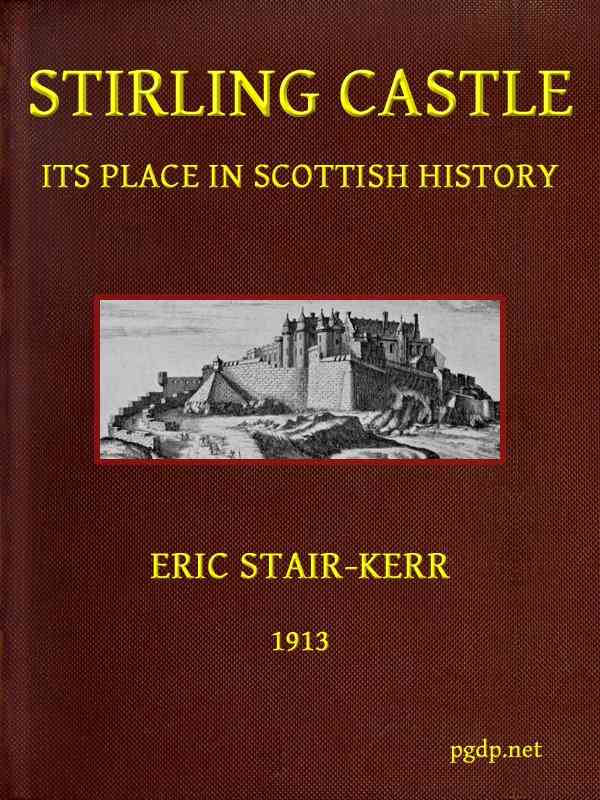
| Stirling Castle | frontispiece |
| The Highlands from Stirling Castle | 13 |
| The Abbey Craig and River Forth | 21 |
| Stirling Castle from Bannockburn | 29 |
| *The Prospect of Stirling Castle From Engraving by Captain John Slezer, circa 1693. |
32 |
| The Douglas Window | 45 |
| James IV.’s Gateway (where Margaret Tudor defied the Commissioners) | 59 |
| The Pass of Ballengeich | 67 |
| The Keep and the Prince’s Walk | 89 |
| The Chapel Royal | 109 |
| *Stirling Castle From Engraving by Robert Sayer, 1753. |
112 |
| Turret on Queen Anne’s Battery | 125 |
| The Old Mint | 135 |
| Portcullis in James IV.’s Gateway | 139 |
| James V. as the Gudeman o’ Ballengeich | 143 |
| *The Prospect of Their Majesties’ Castle of Stirling From Engraving by Captain John Slezer, 1693. |
144 |
| Stirling Old Bridge | 155 |
| The Parliament House | 163 |
| Old Entrance from Ballengeich | 167 |
| Old Buildings in Upper Square | 189 |
| A Chimney of the Palace | 193 |
All the Illustrations, with the exception of
the three marked with an asterisk, are by
Mr. Hugh Armstrong Cameron.